Wednesday, May 29, 2013

Getting Settled And Making Keepsakes

Things are finally starting to wind down a little around here, as I got out of vacation mode around the end of last week and started doing more everyday things and wrapping up wedding stuff, like thank you cards and starting on wedding announcements to those who we could not invite and have no facebook to see the plethora of pictures that exploded on it from the minute the ceremony began!

I neglected, last post, to display another gift we gave out on our wedding day. Around the beginning of our wedding week, our DJ talked to us about doing an "anniversary dance," where all the married couples would get out on the floor, dance, and leave it as their anniversary year was called. The tradition for this was the newly-married couple would give the "winners" a gift. He suggested a bottle of champagne or sparkling cider, but noooo, I couldn't just do that. "Congrats on being married for longer than most marriages in the world. Here's a fizzy beverage." It just seemed too minimal. Not that I'm against minimalism - I'm usually all about simple, but when it comes to gifting, I generally like to put a lot of thought and soul into it, even if I have only a little idea of who is getting the gift.
So, I thought about who might get it. I had family coming out from the midwest, but only 2 were couples and one was younger. I had family coming from NJ, but I wasn't sure how long they had been married. Finally, I decided after wandering The Christmas Tree Shop for a bit, to create a New England-themed gift basket. Even if a couple from closer to home got it, I was sure it would be appreciated.
As soon as I walked into Christmas Tree Shop, I spent what seemed like 30-40 minutes in their small nautical/beach section. I snagged a medium-sized "lobster trap" for the basket and drooled over some home decor I decided against, until we put the stuff up we already have! I had already gotten a bottle of sparkling cider, so I grabbed a couple $1 flutes, deciding I would maybe put a design on them later. This is what I came up with:

I looked up nautical love quotes to write on them and found this one and this one to be the best and the cutest. Topped them off with the wedding date on the back and, making them more like trophies, wrote "Most Experienced" on the bottoms.
When I got to the food section, I really went all out with anything "New England-y." Saltwater taffy, cranberry preserves, and lobster bisque. I almost got canned clams, but the can said they were shipped from southeast Asia...at least the lobster bisque was American, but you can't expect to get the best of the best at Christmas Tree Shop, haha. I added some of these fun woven balls from Kohl's, to make sure the glass objects didn't move around too much, and a book I also found at Kohl's called "Old Age Ain't No Place For Sissies," and found that the lobster trap had to be wired shut, even though it had a magnetic clasp, just in case.
While not all married couples got on the floor, we had a good number of participants and the longest married were my husband's aunt and uncle, at 38 years!

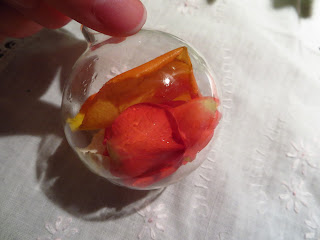
When we got home the next day after the wedding, I decided to act on this pinspiration and take some of the petals from my bouquet and put them in glass ornament globes. The pin says to dry them first, but I was afraid they would crack and break trying to get them in the hole at the top. Unfortunately, I learned the hard way that not drying them first is worse.
The night before we left on our honeymoon
 
The day we returned from our honeymoon, 5 days later
I am glad we had flowers from our head table still fresh-looking, because I was not impressed with the results. Lots of fun molds and ugly colors.
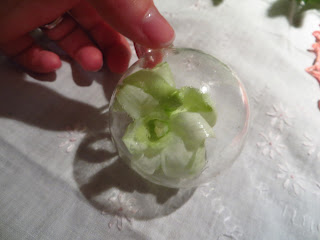
before drying
after drying

before drying
after drying


before drying
this one is still drying...

On the other hand, the dried petals from the head table flowers turned out nicely!

close-up of a portion of the head table flowers
  

So, I got some decent ornaments from the wedding day flowers - not from my bouquet, but that's okay. I also stripped up a program from the day and put that in a globe!
Then, I put sand we collected from the beaches during our honeymoon (after drying it) into 3 more globes.
Summerside PEI
Tignish PEI

Cavendish PEI
So, we should be all set for ornaments for a while, with the anchors from our wedding, too, haha.
Hopefully, by my next post, I will have experimented with more crafty things to show off. :)
Thanks for reading!

Monday, May 20, 2013

A Married Woman

Never would I have thought I would be calling someone my husband, but here I am and it feels awesome. :) This week is going to be rough, back from our honeymoon in PEI and him on the night shift at work, but it's only a week and we've made it through worse. Like me going to sea for 7 or 8 days at a time, with no communication to shore. Or him working 9-hour shifts, 7 days a week, for almost 2 months. Those were both during the time we lived 2 hours apart, which makes things difficult enough. No, I know this is supposed to be a lot easier - it just seems worse because we are now officially one and we have been spoiled with being able to see each other almost every day for the past year.
I figured I would take this opportunity to gush over all the projects I couldn't show yet before the wedding! I had so much fun making all of them and look forward to doing more, down the road.


The first is the favors. I knew my theme - nautical - and wanted to follow suit with it without going too beach-y. I can't recall what made me want to do corked bottle favors - quite possibly a compilation of pins on Pinterest, haha. I ordered prints of 4 of my favorite engagement photos and glued them on with gluesticks - surprisingly, they stayed on well, but some of the glass bottles were slightly bowed on the sides, so I had to use a stronger, industrial glue (I think called something-goo) on those. Tied a bow around the necks, with a little heart charm, reading "love", filled them with white pearl candy-coated chocolates from Oriental Trading, and they turned out pretty nicely!
 And, of course, Jon and I had to have our own jars of candies, haha. This just took a little silver sharpie on the glass and some more ribbon!


I probably had the most fun with the gifts I made. I had dabbled a lot in jewelry-making when I was young - it was actually most of what I did, while crafting, but it had been such a long time, I wasn't sure how they would turn out. I had already bought the girls earrings, but felt they were doing much more than I initially thought they would. They really went above and beyond - my hairstylers and our ceremony musician - that I wanted to add something to their gifts! I found these cute shell flowers at Michael's when I picked up the beads, toggle, and chain, and chose them to complete the necklaces. It was perfect, because each flower was a slightly different color - gray, white, and pink, just like the earrings I had gotten for them!

I also had so much fun making my own signature wire hanger that I decided to make one for each of my girls - my maid of honor, bridesmaid, and flower girl. I can't really explain how I do this - I just write the letters with the wire, from the picture in my head.

And after finding out there would be little to no flowers in the church for Mother's Day (they give flowers out, but don't display them), I realized I had yet one more project I wanted to take on before the big day...at less than 2 weeks to go, haha. So, I grabbed some fake flowers from Michael's, with the colors and flowers of our bouquets in my mind, and whipped these up in a few hours. Not bad, I thought, and the flowers didn't look fake from the distance most people were viewing them from!


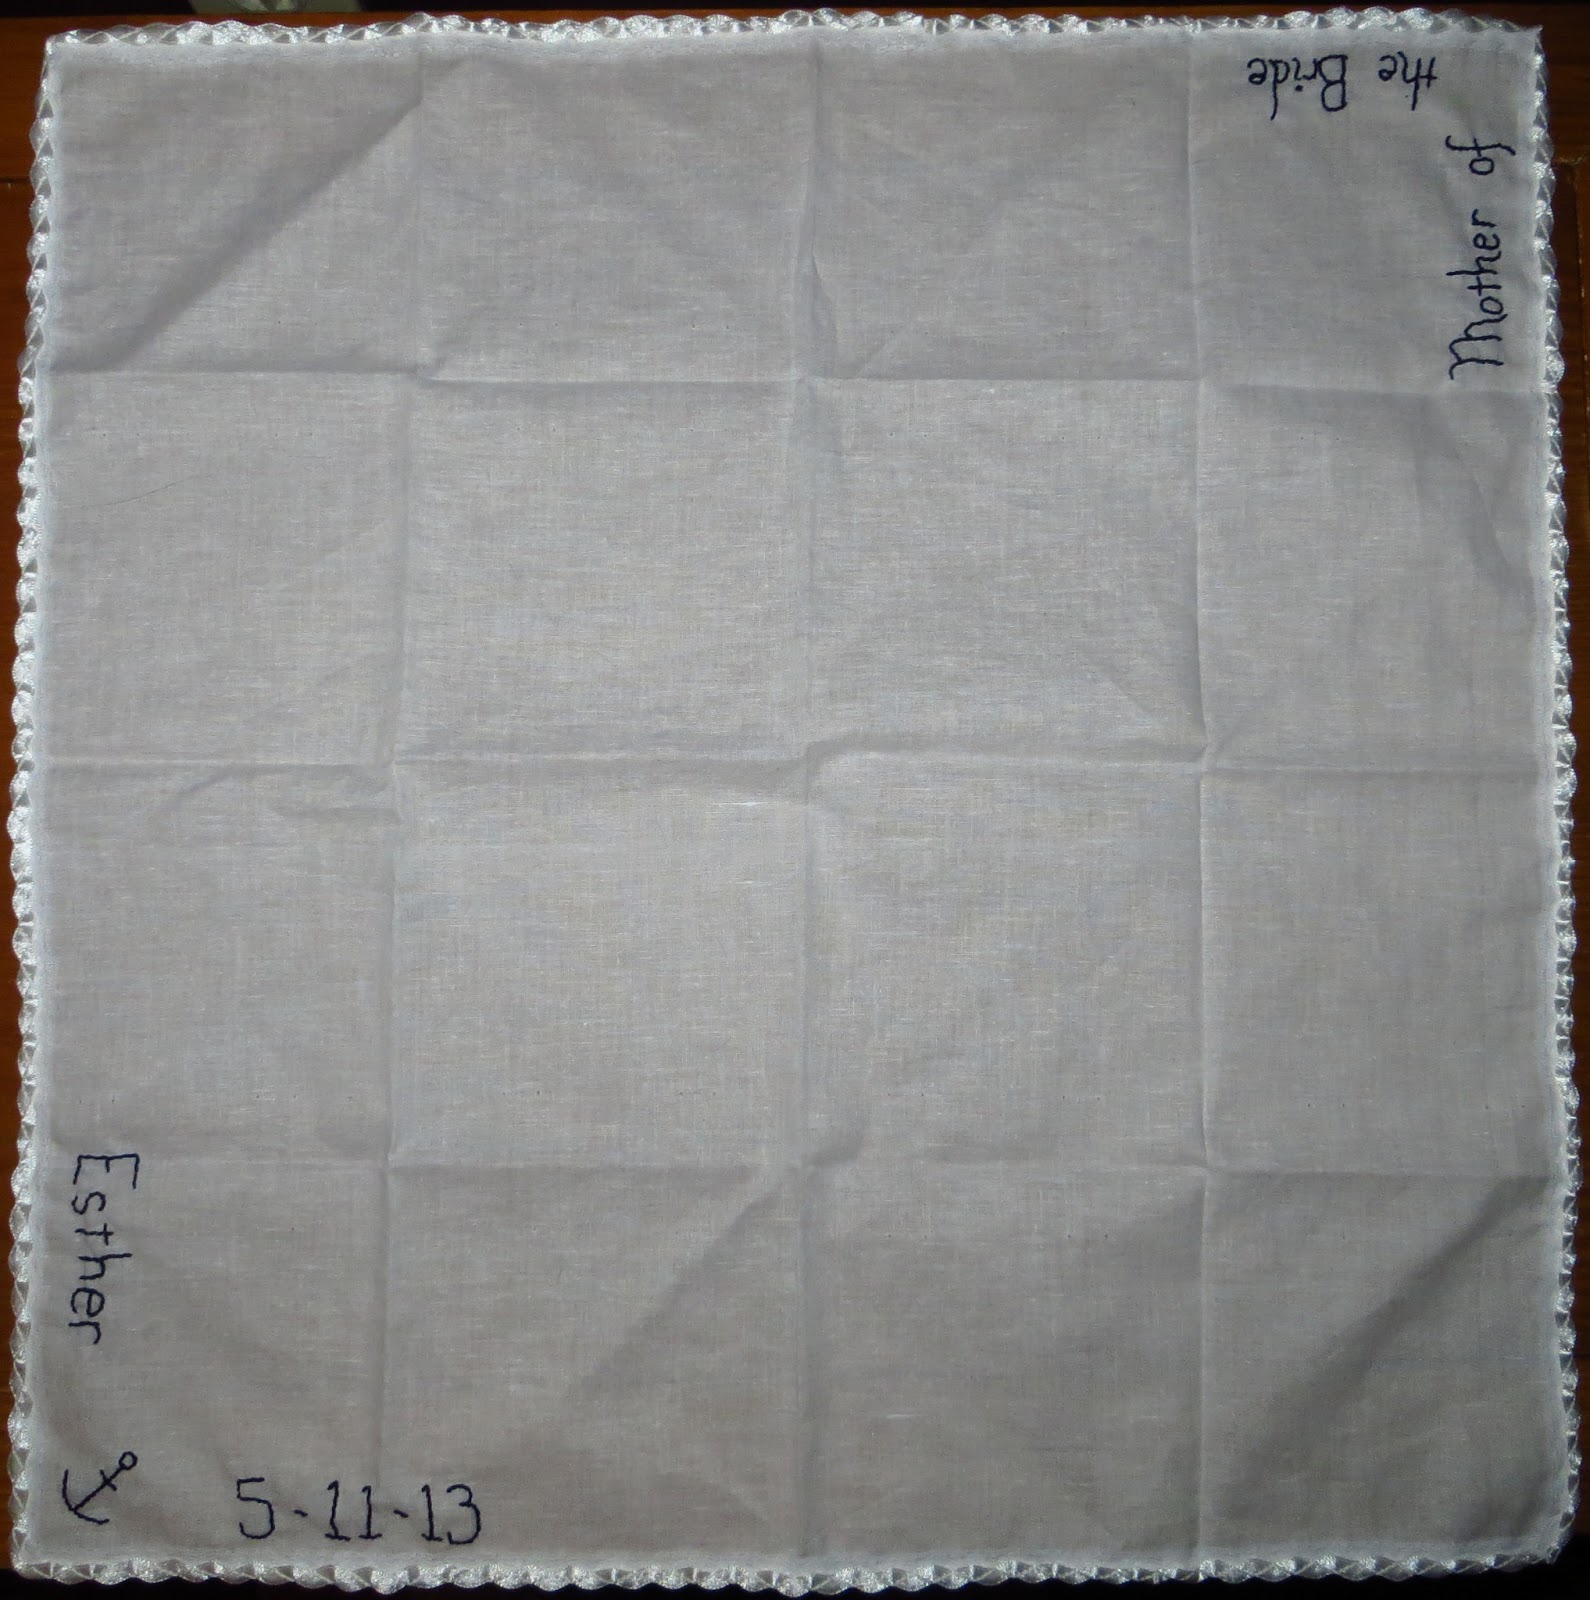
My pride and joy was the parents' hankies, which I spent probably 4 hours a piece on, hand-sewing the ribbon along the edges, then embroidering their names and titles, along with the date and an anchor for good measure. :)

Now that I have no deadlines on my craft projects, I hope I will still finish them - that has always been my problem in the past. If I throw a few things up on Etsy or Artfire, maybe that will motivate me. It would be interesting to see how many of what sells, too. I have no idea what the market is for anything I've made or dream of making!
As always, hope you enjoyed reading - until next time!

Sunday, May 5, 2013

A Very Exciting Week

So I get to know what it is to be a married woman in 6 days. Pretty crazy stuff! I've been focusing completely on wedding prep for the past 3 weeks, so most of the house stuff I've been doing is just regular cleaning. Still a lot of boxes - organized in the rooms the stuff they contain will most likely end up in - but still cardboard boxes, nonetheless. It will be good to at least get some stuff up on the walls before my sister and best friend come to visit, as they will probably not see it again for some time! However, the wedding stuff takes priority over house stuff. Not too much left to do - looking at my list, I just need to finish 3 of 4 parents gifts, my future husband's gift, and a couple decorations, if I have time. If not, the decorations aren't going to bother me too much.
I really want to share all the crafty things I've been doing for the wedding, but I don't want to spoil the surprise for any guests that may read this! So, in the meantime, I will share the gift I made for my fiance for Valentine's Day this year. I got the idea from this pin to transfer some of our engagement photos to some wooden hearts. The idea blossomed into making one bigger piece of wall art. Then, I decided to make my own mod podge using this recipe.
After mod-podging the picture picture-side-down onto the wood, I made sure it was dry, then gently rubbed the photo with a wet cloth to rub away all the paper. After that dried completely, I used my homemade mod podge to finish the look! I think it turned out well for my first attempt. Added some ribbon and painted hearts and letters, and voila!

As usual, thanks for reading!

Monday, April 15, 2013

Less Than A Month To Go!

My focus has shifted onto wedding prep, yet again, so the organizing and unpacking has found itself at a standstill while I finish creating the remainder of the gifts and decorations!
Tonight, I find myself making origami boats, as an additional idea for the centerpieces. It ties in with the table activities, which people may or may not be interested in, since we have an awesome DJ, who knows how to keep people occupied! Mostly, I figure it's probably because I like to make things more complicated than they have to be. If there's no real challenge, my perfectionism won't let me present it to the world with a feeling of accomplishment.
The centerpieces have proven to be one, as I wanted to copy this pin as best I could on a budget and without having to deal with heavy glass vases of water. So, I went out and got Styrofoam balls, toothpicks, and pearl acrylic paint. It was quite an ordeal, especially with Lucy thinking I put them there for her to play with...

After one coat
After two coats

Drying overnight after 2 coats of paint

 Then, I had the challenge of trying to dress up the vase, as pretty as it was with just the "pearls" in it.

In the dark

In natural light
It just seemed too plain. I tried fake ivy around it and it was waaaaay too much. I tried just putting fake white mini roses around the base, but that was impractical and still looked weird. I tried thick ribbon around the middle, big bows, little bows, different colors, and everything I could imagine.
Finally, I found it!


Simple, with just a touch of color. I like the idea, too, where the two ribbons are being joined together - very wedding-esque!
Now, it is 0100 and I find myself, once again, working on projects for the wedding and the house. If only the human body could live without sleep, haha. Good night, all, and thanks for reading!

Also, as the United States has been shocked again by a senseless act of violence, I pray that God shows us what His goodness has in store for those who were most affected by it. "But as for you, you meant evil against me, but God meant it for good." Genesis 50:20a


Tuesday, April 9, 2013

After A Hiatus to Pack and Unpack!

So, it's been a while. I didn't realize it had been this long, as I've been incredibly busy these last 3 weeks! My fiance and I were able to close on a house right before my apartment's lease was up - woohoo! I'm mostly excited, besides the fact I never thought I'd own a house, because this most likely means I may not have to move again in the next few years. Moving is the worst, especially with cats. They get so nervous and upset when uprooted from the place they thought was home. I can't imagine doing it with kids! When I was a kid, I remember saying I was allergic to change. Being in transit since college and even moreso since officially moving out of my parents' house 5 years ago, it's nice to feel like I can settle somewhere, finally!
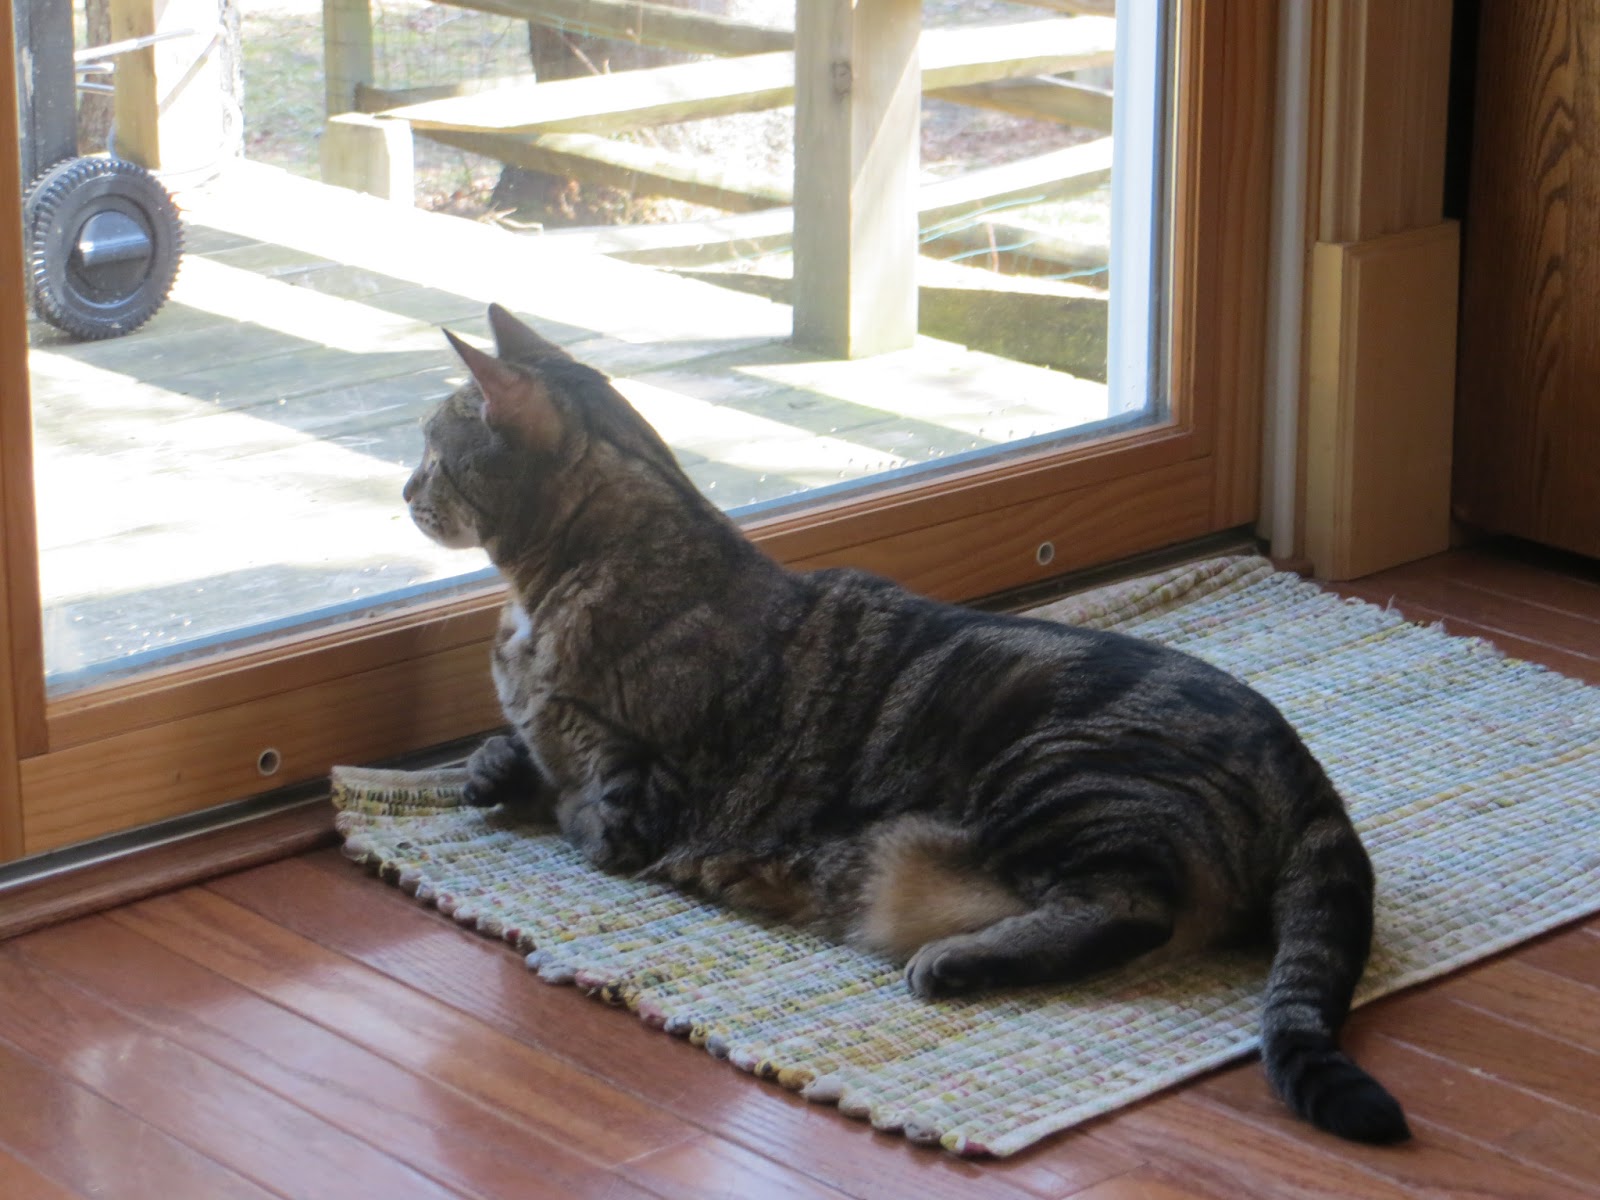
Meanwhile, the cats are settling nicely and I finally got them to stay downstairs with me all day. They are scared of frictionless flooring and most of the downstairs is hardwood floors. We put rugs down where we could, without making it look tacky, but there's only so much we can do to baby them! When they get older, I will probably baby them a little more, since they are probably more prone to arthritic joints, etc. Maybe I will even construct them some sort of wheelchair, if their disability starts affecting how they live.
One of the first nights both cats came downstairs to eat dinner
Lucy looks out the sliding door
So, last night and today, I worked on some projects I've been wanting to finish for the house and wedding. It was good to release some creativity again, after not having time for it, then only being able to use it for interior decorating, the last week or so. I will say interior decorating is definitely not my forte, haha.
The one I started and finished last night, I got the materials for about 2 months ago and couldn't wait to use them. However, it seemed silly to make a decoration for the house and not even have one we were in the process of settling on, yet. I got the inspiration from this pin, to use a letter instead of a traditional round wreath for the door. With both our first names, as well as my fiance's last name starting with a "J", it only made sense to pick that letter!
The final product on our door!
I selected a wooden letter "J" from Michael's and picked up some brightly-colored discounted flowers and sheer navy ribbon to decorate it! I'm pretty happy with the results. :)
I also spray-painted our new mailbox with the house number and our (future) last name, but the spray paint apparently leaked out and we will have to fix it with brown paint. (I just HAD to have the brown mailbox, not the black one, that would be easy to match paint to...)
Today, I finished the ceremony pew decorations, minus the tulle. They were inspired by this pin. But, since we have an indoor nautical theme and not a rustic outdoor theme, I went with anchors I found in Benjamin Franklin instead of tree slices. I painted them navy and wrote on them with silver permanent marker.
I added some ribbon to the tops, so they could be hung from the chairs by pushpins. Add some tulle and voila! Hopefully, decent-looking pew decor, haha.
Then, my final project was working on the hanger for my dress, inspired by this pin. I've never worked with wire before, except briefly when I did some bead-work jewelry as a kid. I think it turned out pretty well, considering that, though!

I might try to smooth out some of the letters more, but wire is hard to work with, without destroying the smooth texture of the wire with the pliers, I found.
So, that's all I have for today...except this fun picture of the bird who has been diligently working on a next outside the window!
Thanks for reading!
- Jess